Posted in DIY, Environment, Wellness

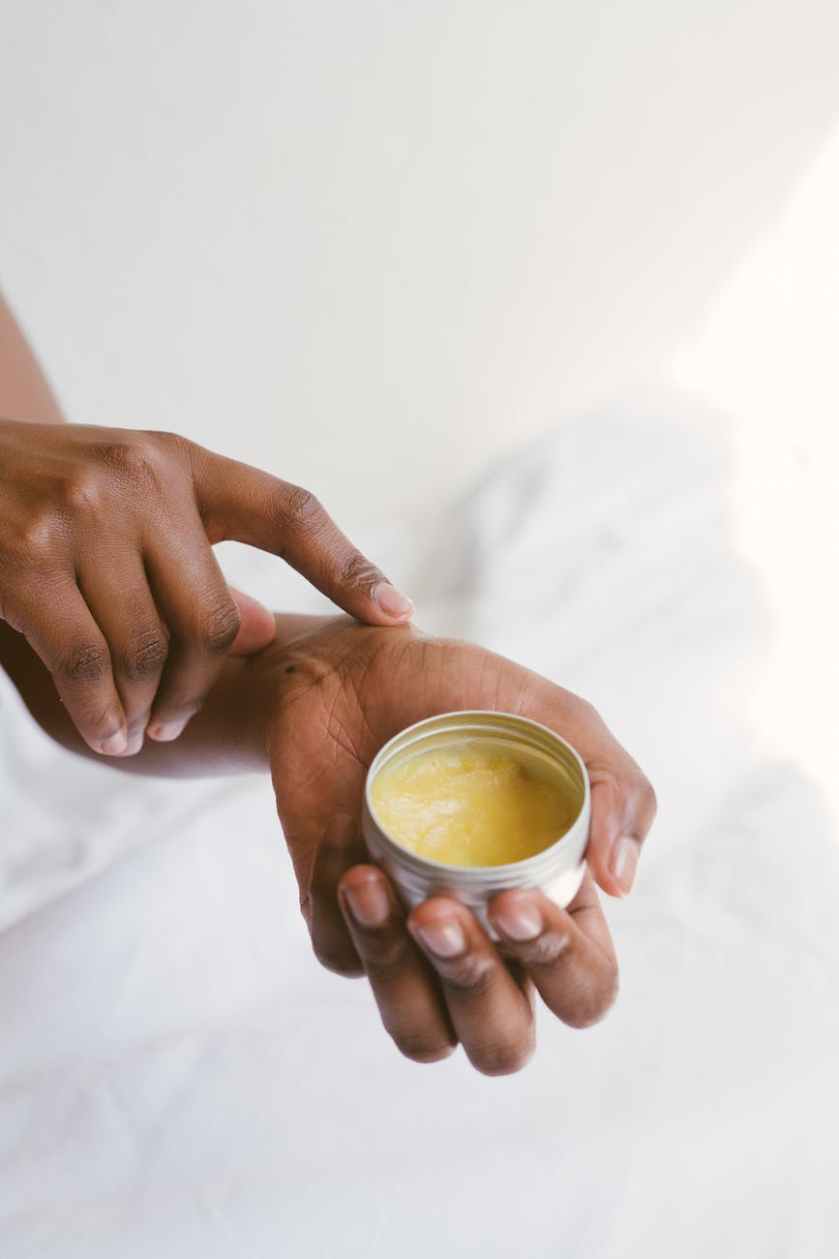
Body Balm Recipe

What does any moisturizer come down to?

  • Fats – Oils and butters – for moisturizing
  • Waxes for sealing moisture into the skin
  • Optional ingredients include preservatives to keep the product from going rancid – vitamin E is a good example – scents like essential oils, and herbal ingredients for medicinal value.

First, you need to pick your formula. Most natural moisturizers (lotion, balm, cream, butter, oil, serum, moisturizer, conditioner whatever you want to call it) are just basically fat and wax plus some little extras, in a particular ratio. The ratio of solid or liquid oils and/or butters and wax depends on form you want your product to take and what job you want it to do.

Oils – If you want to keep it really simple, just use your preferred oil right on your skin. Some options:

  • Olive oil, which is readily available and effective as a moisturizer
  • castor oil,
  • coconut oil, which smells amazing and has natural protective properties,
  • almond oil
  • jojoba oil
  • avocado oil
  • macadamia nut oil
  • vitamin e oil
  • neem oil for fungal infections – great for feet and nails, scalp problems, etc. (it smells a little strong though)

I’d highly recommend investing in getting fair trade versions of your favourite oils and butters.

Balms and butters – If you want a deeply moisturizing solid moisturizer you can keep in a tin or jar, and you don’t mind the product sitting on your skin for a short period of time before it fully sinks in and gets absorbed, you’re going to want to make a balm or possibly a butter. This will usually contain cocoa butter, shea butter, or less commonly mango butter or another kind of butter. It’ll also likely include a wax like beeswax or candellila wax. (I stay away from petroleum-based/derived ones like paraffin.)

Usually the recipe for a balm involves a ratio like the following:

  • 1 part liquid oil – like olive oil
  • 1/2 part solid (at room temperature) oil – like fair trade coconut oil
  • 1/2 part wax – like locally and responsibly sourced beeswax
  • 1/4 part butter – like fair trade cocoa or shea butter
  • Optional ingredients include a few drops of vitamin e oil to make the product last longer without spoiling (I also recommend keeping it in the fridge when you’re not using it, or even the freezer for longer-term storage), and a few drops of your favourite essential oil like lavender for calm, peppermint for deodorizing and cooling, or ginger for warming – ginger is great for sore muscles! You could also add other creative little extras; I added ground vanilla bean to my lotion bars to exfoliate. It’s not for everyone, because you have specs of vanilla left behind on your skin.

There’s no trick to mixing the ingredients. Basically you combine the ingredients and melt them together either in the microwave or in a double-boiler on a stove top (essential oils are added last, after the heat is turned off or the other ingredients are already heated to a liquid), pour the liquid carefully into a heat-safe container or mold, and then let it cool down to a solid. That’s it!

If you want to make a hard balm in a bar form (you can use muffin tins/cups as a mold), you increase the amount of wax or decrease the amount of oil. If you like your balm softer, try less wax.

Lotions – If you want a liquid lotion you can put into a squeeze tube or pump bottle, and which absorbs more quickly into the skin (but also tends to moisturize less thoroughly), you’ll need an emulsifier to blend distilled water into the oils you’ll be using and prevent the oil from separating from the water. Some people use aloe gel as the base for their liquid lotion – adding any essential oil they like – and this generally works pretty well. I personally prefer a creamier buttery option, rather than a liquid I can squirt from a tube or bottle. Here’s a good recipe to look at if you prefer liquid.

A caveat: if you don’t drink enough water throughout the day, or if you don’t protect your skin from sun exposure, you might find it hard to keep your skin from getting dry and cracked. Getting enough sleep is another excellent way to keep skin looking its best.

Posted in DIY, Environment

Natural Toothpaste Recipe

photo of toothpaste on toothbrush
Photo by Karolina Grabowska on Pexels.com

Why make your own toothpaste?

I tried it because I didn’t like the disposable plastic tubes that you buy from the store and can’t recycle. You can sometimes find tooth powders or pastes that come in reusable jars and bottles. However, I’ve found those to be too costly and the ingredients are usually simple enough that I can make my own.

I found out rather late that some toothpastes you buy in the store contain plastic microbeads, so that’s something to avoid as well if you want to stop adding plastic to the ocean.

The main ingredients:

Baking soda usually features in natural toothpaste recipes. It abrades (scrubs) the teeth and deodorizes, and has some antibacterial properties.

Another ingredient you will often see in natural toothpaste and tooth powder is bentonite clay.  It is basically volcanic ash. Like baking soda, it’s abrasive and serves to scrub the teeth. There are a lot of other supposed benefits of this clay (it contains minerals and is said to help with remineralization, although I’m not sure how effective it is to apply the stuff topically against the teeth rather than swallowing it), and it may help to soothe inflamed skin/gums. By the way, I don’t recommend swallowing your toothpaste after you’ve used it, because – remember – you’ll be swallowing a bunch of plaque and bacteria that has just been removed from your teeth. (Yuck.)

Some people add a drop of trace minerals to their DIY toothpaste recipe. Once again, I’m not sure about the effectiveness of trace minerals being applied topically to the teeth, so do your own research, but I’m not recommending swallowing trace minerals either. Good diet does help with remineralization.

Coconut oil is used in a lot of DIY personal product recipes, and that includes many DIY toothpastes. It does have some natural antibacterial properties, and some people “pull” with coconut oil on its own, which basically means putting some coconut oil in your mouth and swishing it around for an extended period of time (like 10 minutes) to improve the health of the gums, teeth, and throat. I’ve tried it and noticed that it successfully soothed a canker sore and left my mouth feeling moisturized. Despite some claims that it works ‘better than flossing’, I personally wouldn’t replace flossing with oil pulling because it doesn’t physically get in between your teeth or hug the gums. In any case, using coconut oil in your oral health routine doesn’t hurt you. There’s nothing to say you couldn’t use castor oil or some other vegetable oil in your toothpaste recipe though.

I think it’s important to choose fair trade coconut oil when you use it, since its demand worldwide as a luxury product is rising like crazy, and yet the agricultural workers responsible for making it available aren’t fairly compensated; not even close.

So, here’s my toothpaste recipe. It doesn’t replace flouride* treatments, but it can be used safely, it removes the gritty feeling from your teeth, and it doesn’t taste too bad…although if you’re accustomed to sweet toothpaste, this will take some getting used to. Also, if baking soda irritates your gums, you might have to modify the recipe by reducing the amount of baking soda, or alternating your DIY toothpaste with a different one from time to time.

*By the way, if you’re worried about flouride in the water supply and think I’m crazy for mentioning flouride as a positive measure to prevent cavities, please consider that ingesting more-than-trace-quantities of flouride is different from using it topically on the teeth at your dentist’s office and then spitting it out. We should all make sure to go to the dentist regularly, of course, for the sake of our oral and heart health.

Toothpaste recipe:

  • 1 part (ex: 3 tbsp) of fair trade coconut oil
  • 1 part (ex: 3 tbsp) cruelty free baking soda (ex: Bob’s Red Mill)
  • a sprinkling (about 1/2 tsp) of bentonite clay (optional)
  • up to 5 drops of essential oils, like peppermint and/or tea tree (Neem oil is also sometimes used in skin and oral care products – it has antifungal properties and can be helpful if you suffer from angular cheilitis or other fungal problems in the mouth)

How to make it:

This one is easy. You just melt the coconut oil, add the dry ingredients and mix them in to make a paste, and then add your essential oils and mix them in. You should use a small pot or jar that you can easily scoop a small amount of paste from.

Posted in DIY, Environment

Natural Deodorant Recipe

person holding a hand cream
Photo by Retha Ferguson on Pexels.com

Why make your own deodorant?

I started making my own deodorant to avoid triclosan, an antibacterial endocrine disruptor that is found in some deodorants and antiperspirants, as well as a lot of antibacterial soaps and other personal products. My original reasoning was to avoid breast cancer, although I’ve since come to think of triclosan as more of an ecological threat than a health risk to me personally. It bioaccumulates rather than being quickly excreted or breaking down in animals’ bodies, and we keep flushing this stuff into the ocean and the soil, where it acts as a toxin to countless species. (Regulating my diet and exercise can do much more to protect me from cancer than avoiding certain personal care products, according to the current evidence.)

You can also buy natural deodorants that work quite well. I just find them a bit pricey, and I like making my own so that I can make it the right consistency and scent for me. This also lets me re-use containers over and over.

The main ingredients:

Most natural deodorants use baking soda as a main ingredient, mixed with coconut oil or some other vegetable oil to act as a moisturizer and help with application. You may also see beeswax or some other hard vegetable wax to make the deodorant more solid so that it can be used in a bar form.

Arrowroot powder can be an alternative to baking soda that is milder on the skin, although I do find it’s not as powerful for deodorizing, so I usually use a combination of baking soda and arrowroot powder. Some people use corn starch, but I don’t like the texture.

So here’s my recipe:

  • 1 part (ex: 1/4 cup) baking soda
  • 1 part (ex: 1/4 cup) arrowroot powder
  • 1 part (ex: 1/4 cup or 4 tablespoons) fair trade coconut oil
  • *3-5 drops of Tea Tree Oil
  • *3-5 drops of Lavender Oil
  • Optional, for a deodorant bar: No more than about 1 teaspoon of beeswax, or hard vegetable wax like candelilla wax (1 unit of candelilla is worth about 2 units of beeswax, because candelilla is harder)

*You can use whatever scented oil you like, or none at all. Rosemary mint is a good combo, or vanilla, or citrus.

How to make it:

  1. Melt the coconut oil (and wax if you’re using it for a deodorant bar) either on the stove top or very carefully in the microwave. Don’t boil your mixture by accident, as it could end up smelling burnt.
  2. Turn off the heat
  3. Add the baking soda and arrowroot powder to the liquid and mix it in
  4. When the consistency is even, add your scented oil and stir it in
  5. Pour the mixture into a mould (you can re-use empty roll-up deodorant bar containers) or container of your choosing (a little metal pot with a lid is fine – I’ve used re-purposed candy or mint tins, for example)
  6. Let it cool and harden completely in a safe place – just let it sit and don’t touch it for about 24 hours. Some people put it in the fridge to speed up the cooling, but I notice this can lead to big cracks forming in the product. Not that it really matters…

I’ve also tried using a slice of lemon as a deodorant in the morning. That’s it. Just take a lemon slice and rub on the underarms, wipe up any excess juice, and you’re done. It works about as well as some of the natural deodorants out there. It’s just not easy to re-apply when on-the-go. I’ve used birch oil in the same way (this stuff, for example, is meant to be used to reduce cellulite, but I used it on my underarms because I love the scent and the moisturizing properties), and it seemed to work pretty well.